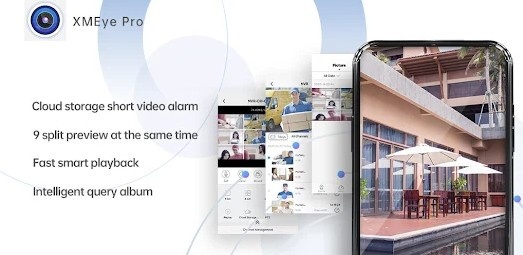
How To Download & Install XMEye Pro for Windows PC?
If you're a security-conscious individual or a business owner looking for a reliable way to monitor your CCTV cameras remotely, the XMEye Pro App is a great choice. While the app is primarily known for its mobile version on Android and iOS, many users prefer managing their security systems from a larger screen. Fortunately, you can install XMEye Pro for Windows PC and enjoy the convenience of monitoring your surveillance cameras on your computer.
In this guide, we will walk you through everything you need to know about installing and using XMEye Pro on your Windows PC. From system requirements to step-by-step installation, setup, and troubleshooting, this article covers it all!
Why Install XMEye Pro on a Windows PC?
Before we dive into the installation process, you might be wondering why it's beneficial to use XMEye Pro on a Windows PC instead of just using the mobile app.
1. Larger Display for Better Monitoring
One of the biggest advantages of using XMEye Pro on a PC is the larger screen. Monitoring multiple cameras and reviewing footage becomes far easier and more efficient on a computer. With a bigger display, you can view multiple camera feeds simultaneously without having to switch between devices.
2. More Control
While mobile devices offer convenience, managing security settings and performing tasks like playback, PTZ (Pan-Tilt-Zoom) camera control, or even adjusting camera angles can be cumbersome on a smaller touchscreen. On a PC, you have more precise control with a mouse and keyboard.
3. Stable Performance
Using the desktop version of XMEye Pro on a computer is generally more stable than running it on a mobile device. Desktop systems tend to handle multiple tasks and heavy applications better, providing you with a smoother user experience.
4. Convenience for Long-Term Monitoring
If you are monitoring security cameras continuously, a PC is often more comfortable and suitable for long-term viewing. It eliminates the need to hold your phone or tablet for extended periods, reducing strain on your eyes and hands.
System Requirements for Installing XMEye Pro on PC
Before proceeding with the installation, it's important to ensure that your system meets the necessary requirements. Here's what you need:
Minimum System Requirements:
OS: Windows 7, 8, 10, or 11 (32-bit or 64-bit versions)
Processor: 1.0 GHz dual-core processor (or faster)
RAM: 2 GB (minimum)
Storage: At least 500 MB of free disk space
Internet Connection: Stable broadband or Wi-Fi connection for real-time streaming
Graphics: Integrated graphics should suffice, but a dedicated graphics card may improve performance, especially for live video streaming.
How to Install XMEye Pro for Windows PC: A Step-by-Step Guide
Now that we know the system requirements, let's go through the installation process.
Step 1: Download an Android Emulator
Since XMEye Pro is designed for mobile devices (Android and iOS), it isn't directly available for Windows PCs. However, you can easily install and run Android apps on your PC by using an Android emulator. One of the most popular emulators is BlueStacks, but other options like Nox Player or LDPlayer are also suitable.
Here's how to install XMEye Pro using BlueStacks:
1.1 Download BlueStacks Emulator
Visit the official BlueStacks website: https://www.bluestacks.com
Click on the "Download BlueStacks" button for Windows.
Once the download is complete, open the installer file.
1.2 Install BlueStacks
Follow the on-screen prompts to install BlueStacks on your PC.
Choose the default installation settings unless you need to change the installation directory.
Once the installation is complete, launch BlueStacks from the Start Menu or desktop shortcut.
Step 2: Set Up BlueStacks Emulator
2.1 Sign in with Google Account
When you first open BlueStacks, you'll be prompted to sign in with your Google account (just like you would on an Android device). This allows you to access the Google Play Store and download apps.
If you don’t have a Google account, you can create one during this step.
2.2 Optimize BlueStacks Settings (Optional)
You can adjust settings like performance, graphics, and resolution in the BlueStacks settings menu to improve performance, especially if you’re running multiple apps or monitoring many cameras.
Step 3: Install XMEye Pro on BlueStacks
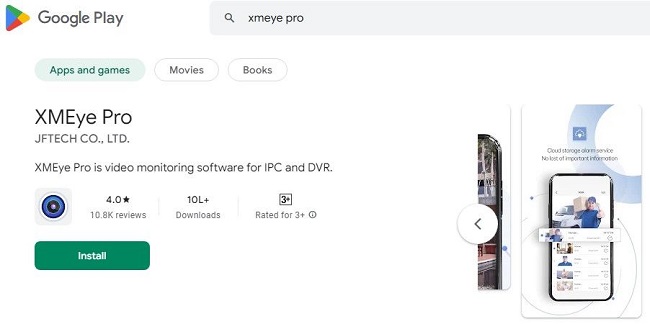
3.1 Open Google Play Store
Inside the BlueStacks interface, click on the Google Play Store icon.
In the search bar at the top, type “XMEye Pro” and hit Enter.
3.2 Download and Install XMEye Pro
Find XMEye Pro in the search results and click on it.
Click the Install button to download and install the app on BlueStacks.
Wait a few moments for the installation to complete.
3.3 Open XMEye Pro
Once installed, click on the "Open" button to launch the XMEye Pro app directly from BlueStacks.
You can also find the app in the BlueStacks Home screen or in the “My Apps” tab.
Step 4: Configure XMEye Pro for Your CCTV System
4.1 Sign in or Create an Account
Open XMEye Pro and sign in with your XMEye account (if you have one). If you don't have an account, create one.
You’ll need to register your CCTV cameras or DVR/NVR system by adding device details like serial number, username, and password.
4.2 Add Cameras
Click the "+" button in the app to add your CCTV cameras.
Enter the required details, such as the device’s serial number or scan the QR code.
After adding your cameras, you’ll be able to monitor them directly from the PC screen.
Troubleshooting Tips for XMEye Pro on Windows
While the installation process is relatively simple, you may encounter some issues. Here are some common problems and their solutions:
1. BlueStacks is Slow or Lagging
Solution: Adjust the performance settings in BlueStacks. Go to the settings menu in BlueStacks, and increase the allocated RAM or CPU cores. You can also change the resolution and graphics settings for smoother performance.
Solution: Ensure that your PC meets the minimum system requirements and close any unnecessary applications running in the background to free up system resources.
2. XMEye Pro Isn’t Showing Camera Feeds
Solution: Check your internet connection and ensure your CCTV system is online. Make sure your device's credentials (username, password) are correct.
Solution: Ensure that the XMEye Pro app has proper permissions to access the network and camera system. You might need to reconfigure network settings or add the device again.
3. BlueStacks Doesn’t Start or Crashes
Solution: Try reinstalling BlueStacks by first uninstalling it and then downloading the latest version from the official website. Ensure that your system meets the software’s requirements.
Solution: If BlueStacks still doesn't start, check for system updates and ensure that all Windows updates are installed.
4. XMEye Pro Is Not Showing Notifications
Solution: Make sure the notification settings in BlueStacks are enabled. Also, check that the push notifications within the XMEye Pro app are turned on.
Solution: Ensure that the camera alerts and motion detection settings are correctly configured in the app.
Frequently Asked Questions
1. Can I use XMEye Pro on a Mac computer?
XMEye Pro is designed for Android devices, and there is no official version for Mac. However, you can use an Android emulator like BlueStacks or Nox Player on a Mac to run XMEye Pro.
2. Is XMEye Pro free to use on Windows?
Yes, XMEye Pro is free to use on Windows, but some features like cloud storage may require additional subscriptions.
3. Can I access all the features of XMEye Pro on a PC?
Yes, you can access almost all features available on the mobile app, including live video streaming, playback, remote camera control, and more.
4. How many cameras can I manage on XMEye Pro for Windows?
XMEye Pro allows you to manage multiple cameras at once, with support for up to 16 cameras on the screen at a time.
Conclusion
Installing XMEye Pro for Windows PC is an excellent way to manage and monitor your CCTV system on a larger screen with more control. While the process involves using an Android emulator like BlueStacks, it’s relatively simple and gives you all the benefits of the mobile app, with the added advantages of working on your PC.
By following the steps outlined in this guide, you'll be up and running with XMEye Pro in no time. With features like live streaming, playback, PTZ control, and alerts, XMEye Pro for Windows provides a powerful, user-friendly solution for security monitoring.
If you encounter any issues, use the troubleshooting tips provided to get back on track, ensuring a smooth and reliable experience while managing your surveillance system.
Updates